3/27/2015

Another Quilt Shop Visit

On my last post I shared my visit to one quilt shop in Albuquerque, New Mexico. Today I want to let you know about another shop I visited while in Albuquerque. 


Quilt Works  was another fun shop to go to. It was easy to find. 
The staff was very nice and helpful. 


There were so many bright fabrics (my favorite kind) and samples galore. 


I like to see samples in stores. 


There were loads of classes one could attend.


I liked this quilt design very much. 
It was hanging in the classroom near a window. (Sorry for the reflection.)


Stack N Whack type quilts are some of my favorite to make. I know it is because I have little control over the random outcome of the designs that form from the cut pieces. The store owner came in with this quilt that his wife had made. It was gorgeous. Just look at those Southwestern colors!


Need I tell you that this display of fabrics really interested me? 
And I like the quilt block idea at the top of the display rack that was turned into a potholder. 

I had to show this photo larger than the column on my blog. Why is that? Well, these little quilts were just darling. I asked one of the staff if they were samplers. She told me they had quilters who came in to the First Friday Sew Ins to sew doll quilts for a charity. February was a heart theme. Their NEWSLETTER has more details about this activity. (Two quilts are clothes-pinned back to back on the clothesline.)


I found a treasure! I wanted this book when it came out, but decided to wait. Well, it was marked down to 50% off in the sale corner of the classroom. I am soooo excited and can't wait to get into it. 

Oh, my husband? Well, next door is Harbor Freight where he spent time looking around. Before leaving the parking lot, we went over to Subway for a late lunch, or maybe early dinner. 


Well, I had had my quilt fix for a few days. 
Although the ladies here gave me a sheet listing about 10 quilt shops on their shop hop in the area. I'd say another trip needs to be planned. 
And I was a month late for the AQS show that was held in Albuquerque!

We then headed south toward Las Cruces. 

It would be great to know what shop you would suggest I visit if I came to your area?


3/22/2015

Quilt Shop Visit in New Mexico

In February, my husband and I traveled to New Mexico (as well as other places) to visit my brother and his wife. We had a great 3 weeks of travel considering we dodged storms (ice, sleet, snow and frozen fog and rain)! I was so very happy that we were able to take some time along the way for me to visit (and shop) at some fabric shops.

I will be writing about those visits in the next few blog posts. If you have ever been to any of the shops, let me know. I would like to hear your thoughts about the shop or that special item you found when you stopped. Let me know if there is another shop I should visit if I get to that area again.

One shop we visited was Southwest Decoratives Kokopelli Quilting Company in Albuquerque, New Mexico. For a few years I have been visiting the website HERE. I said if I were ever in the area, I would be sure to stop. Mary-Jo and her staff were so very nice and helpful. It was very easy find the shop. And yes, my husband did go in and was fascinated with the quilts on display.


The day was sunny and warm! One of the few we had during this trip.


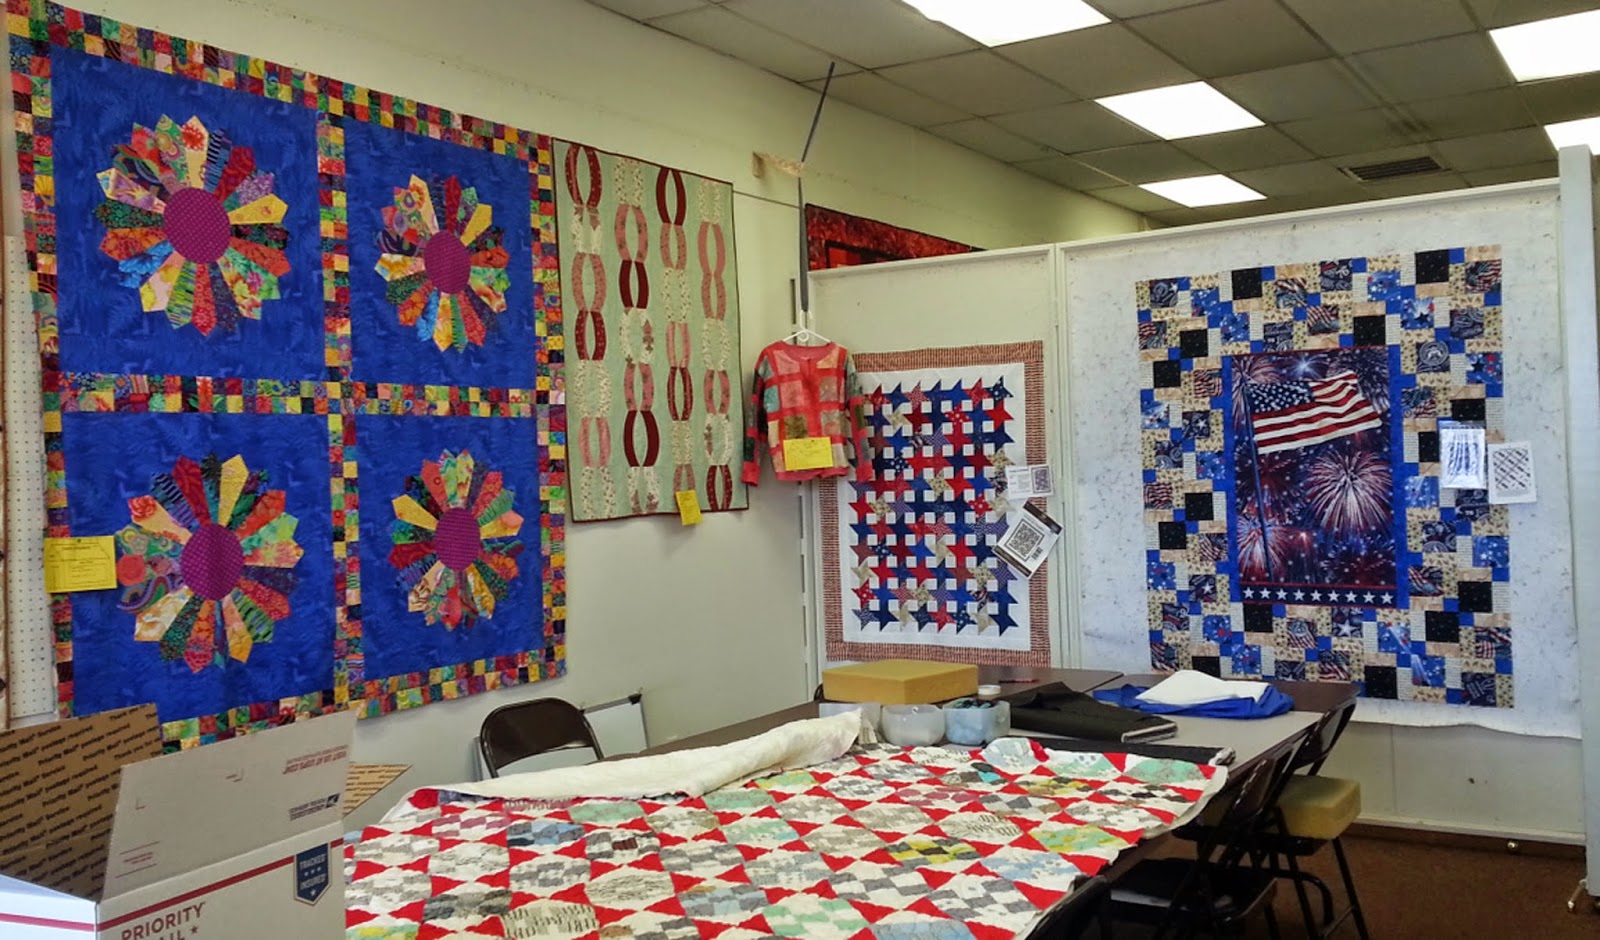
Mary-Jo said I could take photos for my blog. I was amazed at the number of sample quilts on display. The shop was so open, bright and organized.


The classroom was spacious and well-lit with lots of table room for working--with more sample quilts on display!


I know I looked at just about everything! Including this doll displayed on one of the shelves.


My husband was really taken by the Turquoise Diamond quilt on display, so I bought the pattern to work on this summer.


And for me, I bought Enchanted Lands and two pieces of this great mola-print fabric for a quilt that was on display.


While traveling the highways in New Mexico, as well as Texas, I was taken with the decorative overpasses. Nothing boring here! This is just one photo I took near Albuquerque.


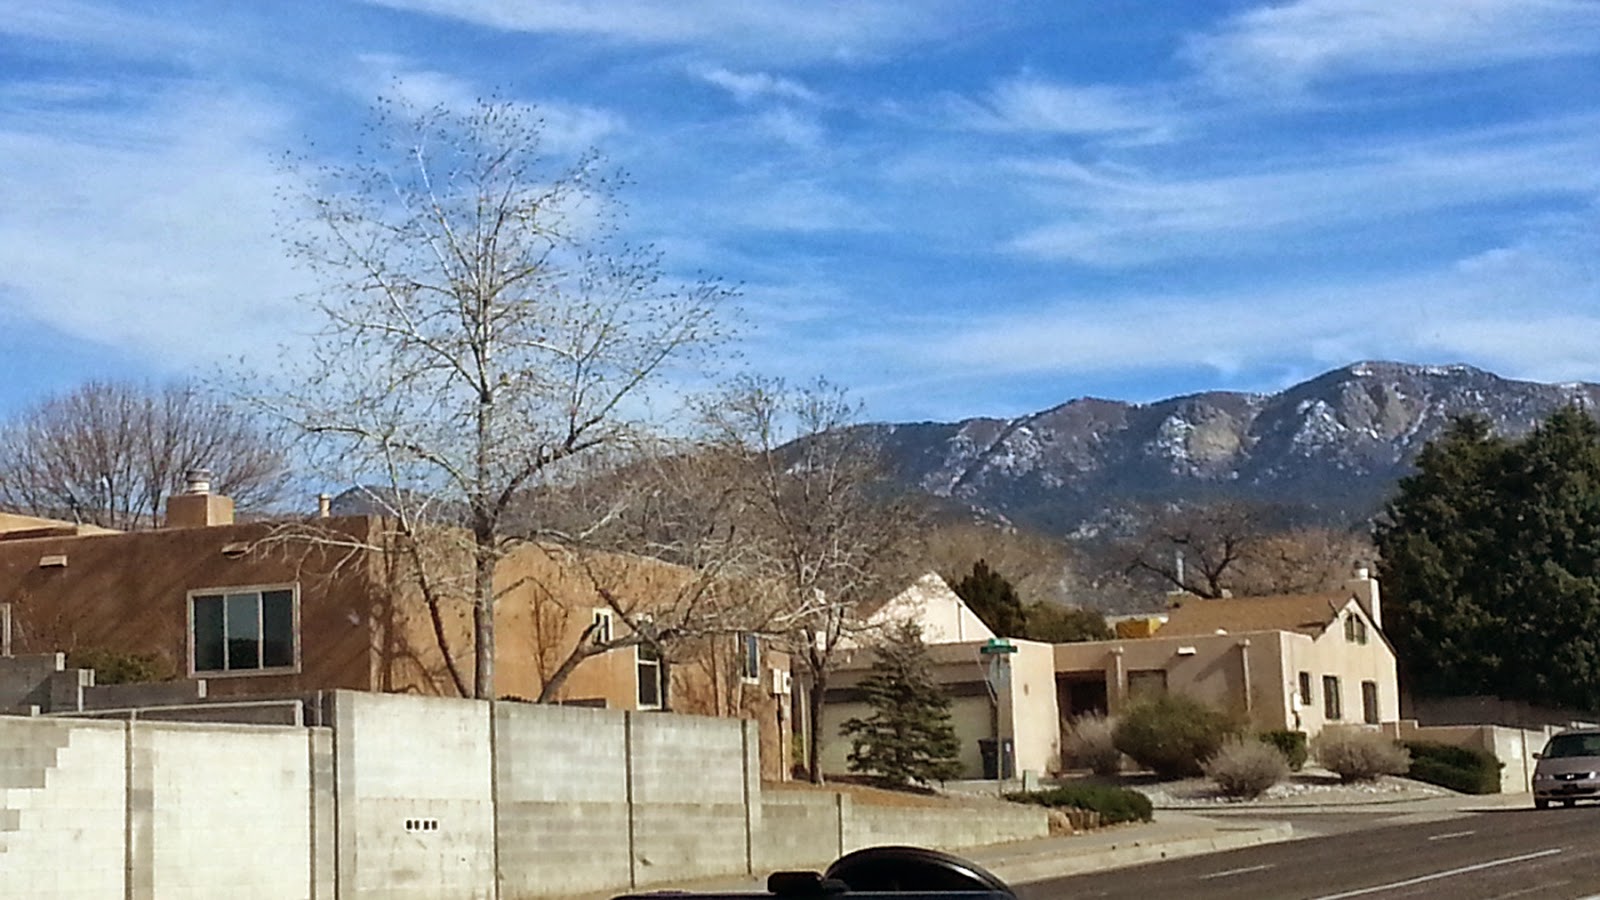
And a few shots as we came into the area. I must say I was very taken with the city. I wish I had more photos of the neighborhoods--they were so pretty. 


3/10/2015

Guy's Plaid Folksy Quilt

Tuesday Archives at Val's Quilting Studio motivated me to finish a draft of a post I began before Christmas. I hope you will find some tips, tricks or different methods of finishing a quilt as you read my blog post. 

I am sure every quilter has been asked to help someone out with a quilt project.
My sister asked me to help with finishing the quilt she had started for her son. 
How can one say no to a sister?
This is a photo of the finished quilt. 
She purchased plaid and plain wool suiting pieces. 
When I got the top, she had the pinwheels sewn. 
Below, you will find what I did to finish the quilt. 


My sister has not made many square patch quilts and wasn't sure of the quilting process. She did not have much of each fabric and had already cut them into squares. I suggested she cut them diagonally to create more visual appeal. I never thought to suggest fusible interfacing for stabilization, so there was S-T-R-E-T-C-H.

After sewing the pinwheels together she asked for help with sandwiching and binding. She had purchased a felted wool for the backing. We thought including batting in the quilt would be much too hot. I suggested it be sewn as a self-binding blanket. (You can see Jenny Doan's demonstration HERE.) I thought large hand sewn quilting stitches to hold the layers from shifting would be cool. So, I took the project home and went at it.

I stabilized the stretch on the outside edges and seams of the quilt with fusible woven interfacing.

I topstitched 1/4" on each side of the seams.  That helped stabilize the triangles. But, as you can see, the centers were off or puffy. I wanted to do something about those intersections. 


I thought a square would look nice and cover each of the intersections,
 as shown in the next photo. 


To do that, I sewed one square of the backing fabric and one of a cotton fabric, RST, around all edges. The under fabric would not be seen when appliqued down. I clipped the corners so the points would form nicely when turned right sides out. I clipped an X in the center of the under fabric only, in order to turn the pieces.


I used the chopstick to turn and poke out the corners of the squares and pressed the edges and corners with a bit of steam.


The cut would be hidden so I did not need to close it up.


I pinned the squares on the center seams of the pinwheels and topstitched in place. 


With the squares all sewn down, I measured the quilt top, figured how much backing was available to form the binding on the front. I decided to use all the backing I could, so the binding dimensions were not equal. (But the process of sewing it wasn't much different than if all the binding edges were equal.)


I had to fold the corners a little differently since a 45 degree angle would not work.


 I pinned, marked and topstitched (by hand) with embroidery needle 
and thick pearl cotton embroidery thread as shown below. 


Here is the back. 


Although there were still a few loose areas, the quilt is a lap quilt, very warm -- with temperature and LOVE. I was happy to have helped my sister. She was very pleased with how it looked and my 29-year-old nephew really LIKED it.

Leave a comment and let me and my readers know how you have helped someone out with a quilting project or quilting predicament. 


3/04/2015

Quilt Patterns I Have Designed

Val's Quilting Studio's Tuesday Archives is featuring "Original Patterns by You!" Those who are linking are posting about patterns they have designed for their own use or for sale whether using wool, paper piecing, applique, bags, totes, and/or quilts

I am copying parts of the blogs that I have written about some of the patterns I have designed. Some have been for my own use and others I have for sale. It has given me the idea to put a list on my blog of patterns I have designed.

I enjoy designing my own patterns for a number of reasons. The first is that it satisfies my creative urge. Also, I want to be able to photograph and display my quilts without seeking permission from the pattern designer of a pattern I use. I can share my patterns freely with my friends and with those whom I teach. Lastly, although not prolific, I have some for sale which gives me a little bit of "quilting money" to fund my passion of quilting. 


My pattern, Rings Placemat Set, was designed for Cut Loose PressCut Loose patterns are available to Local Quilt Shops through Checker Distributing. If your local shop doesn't carry them, ask them to put in an order! Here is a photo:

 
Another pattern I designed for Cut Loose Patterns is 
Tree-Mendous Possibilities


It is 2 patterns in one!

By adding just one more fabric after making the "Tree" quilt, you can make a second quilt! And there is almost NO waste.
Start with a layer cake and a few extra pieces of fabric. 
(Or use your fabric yardage cut into 10" squares.)
It is an easy quilt to make. But don't stop there! 

  
Change it up a bit by substituting other materials such as photos on fabric, childrens' art work or handprints, signatures, redwork or embroidery, why even t-shirts would work!
Why not use the letters: BFF at the bottom and have photos of the best friends in the branches? How about a growth quilt?
This pattern has "tree-mendous possibilities". 


And, below, is the second quilt that can be made with the leftovers plus another fabric cut.


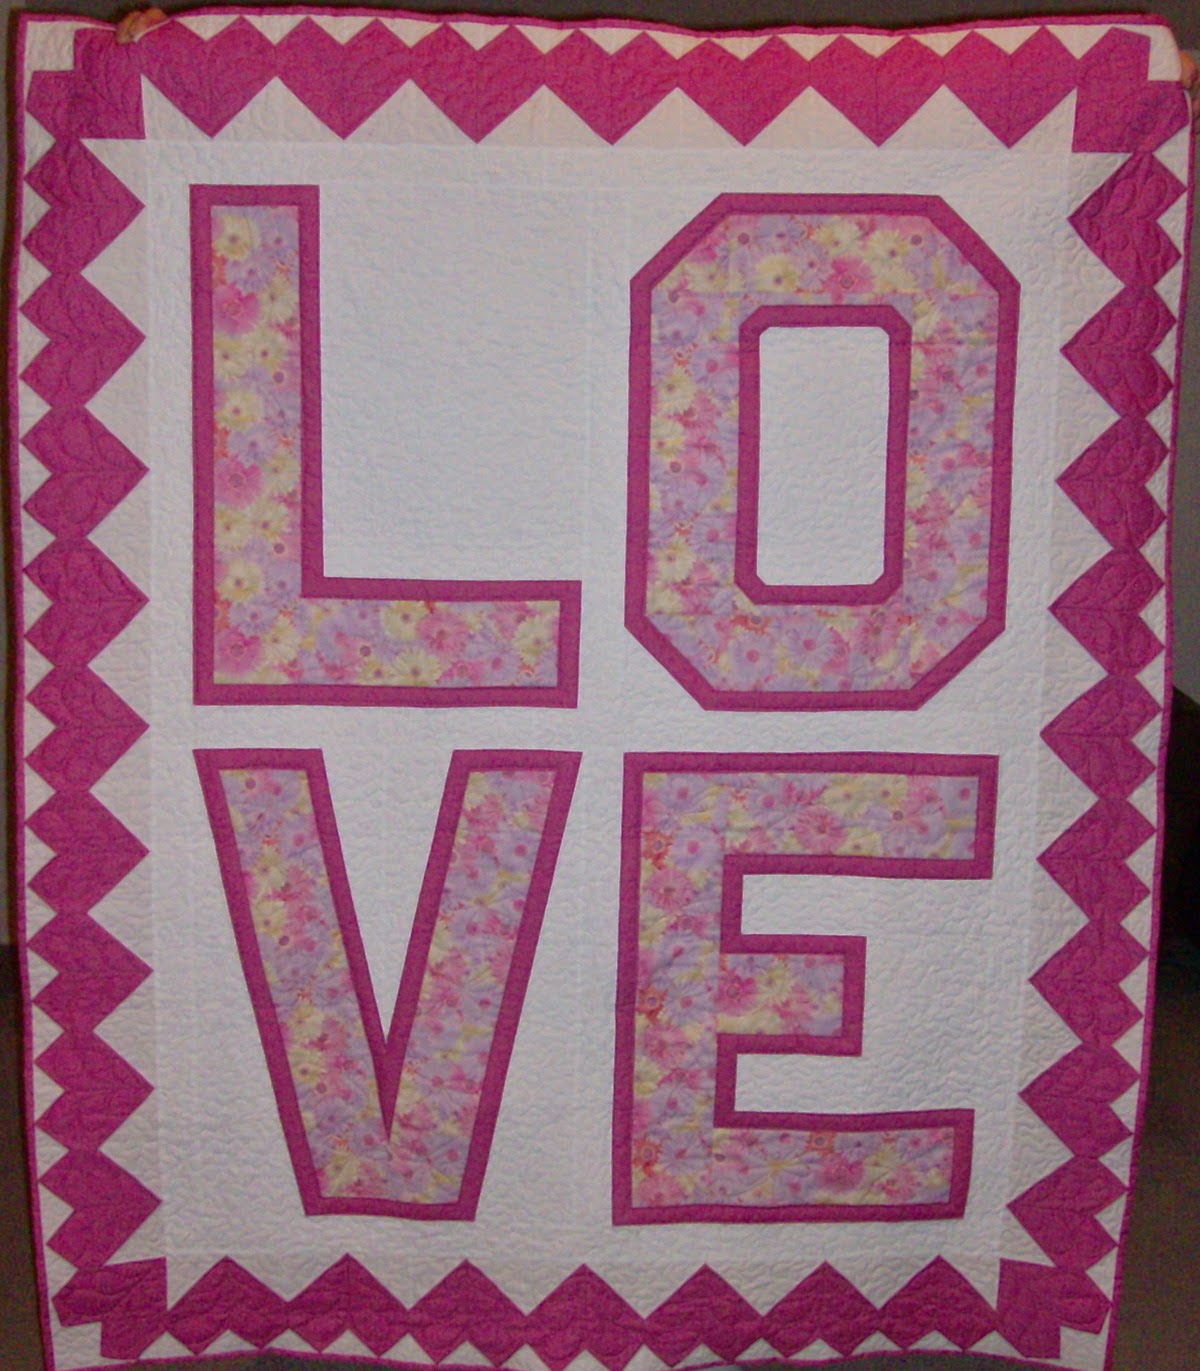
Another quilt I designed has hearts as the border. I wanted it to have the appearance of a postage stamp.


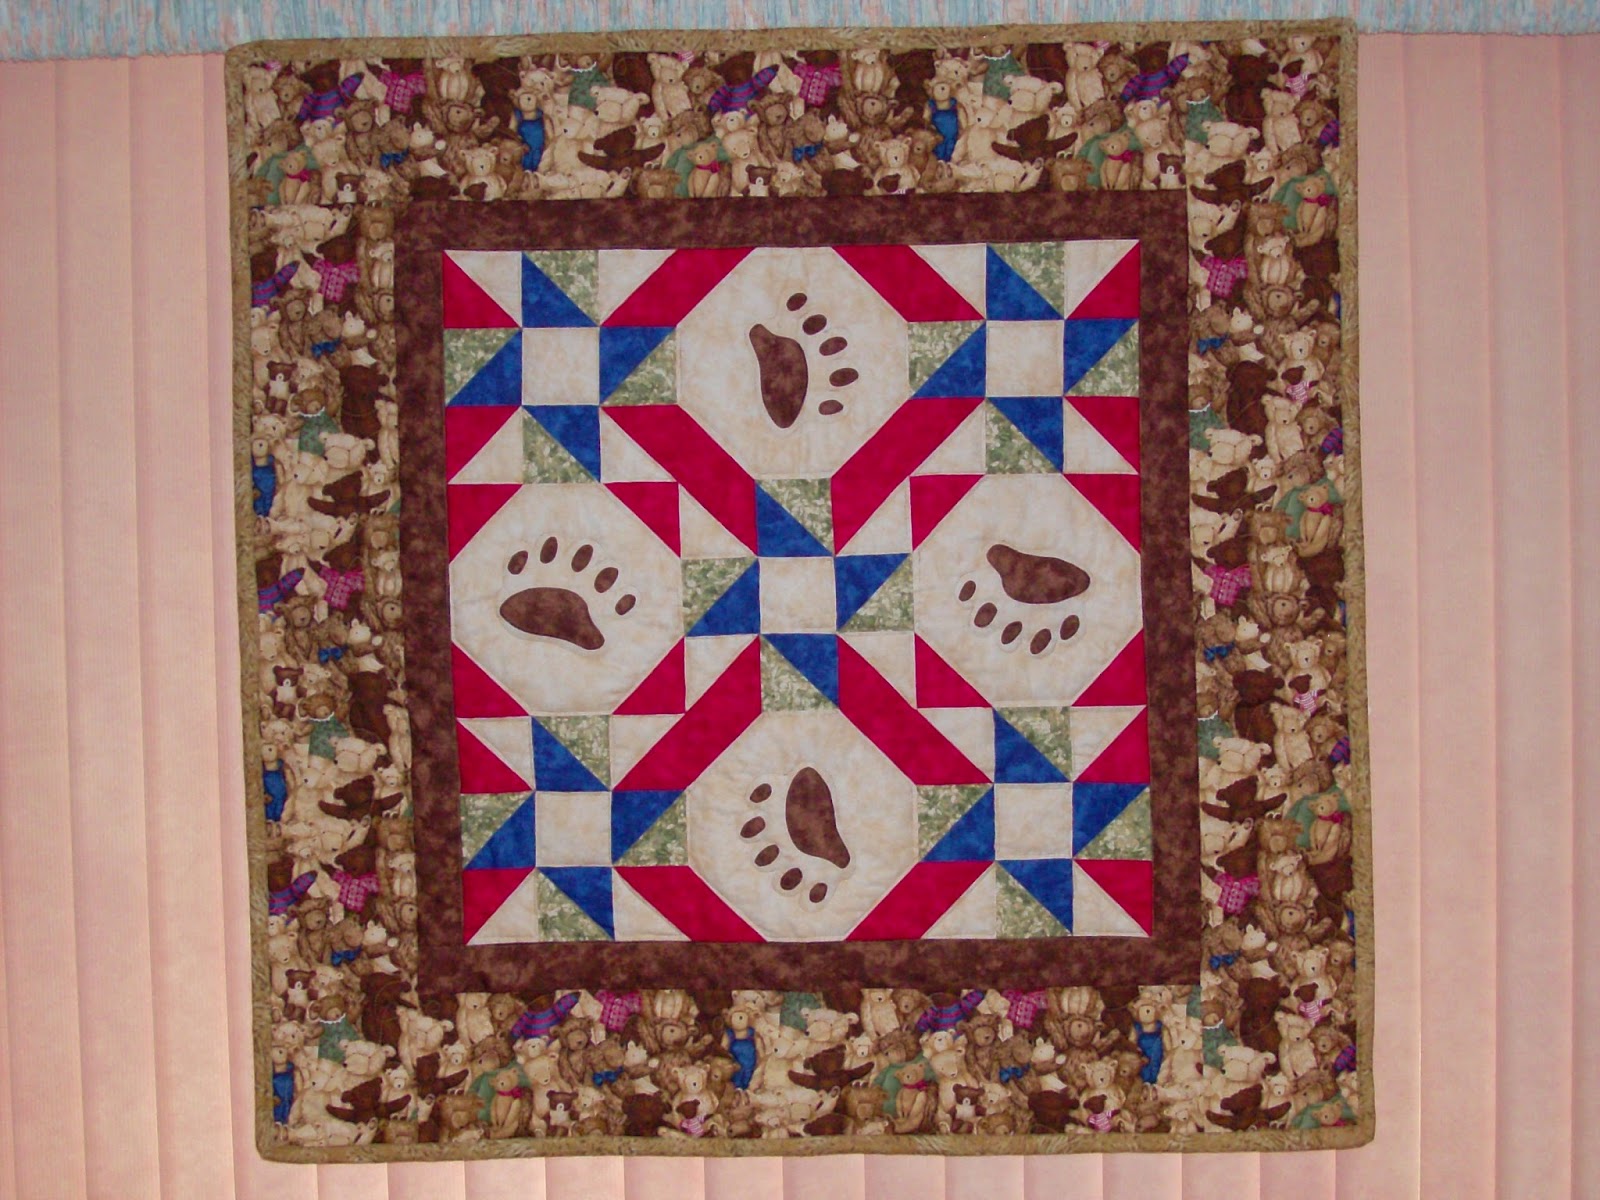
I designed this footprint baby quilt to use the bear

fabric as the outer border. But there are other animal footprints in the pattern so other animal fabrics can be used.
This pattern and 4 others for sale
at Patternspot.com under Patchwork Breeze as the designer.


The Kittens in a Basket quilt is my 1930s pattern I designed for a guild challenge to use reproduction fabrics.


If you'd like a free pattern, try the the CURIOUS CATS block found at PatternSpot.com. I had fun designing it. My inspiration came when I found a photo of a block on the internet. I sketched it, but did not write down the website or blog it came from. It made me think of cats watching something interesting. Maybe fish or mice or bugs!