
Since the mug rugs are so small, I wanted to add the binding without mitering the corners.
I used my trusty helper: 1/4" Water soluble basting tape. I made a quilt as you go log cabin-type piece and trimmed it.

BINDING
First I cut 1-1/2" wide binding strips from scraps.

From those strips I cut the end pieces the lengtht of the short ends of the mug rug. I cut the long edge pieces 2" longer than the length of the mug rug as shown in the photo below.


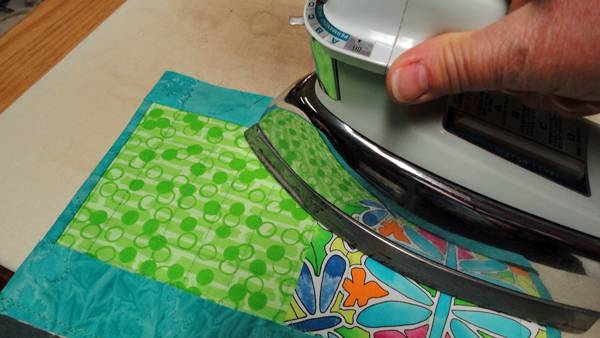
I sewed the short ends on the back of the mug rug and then pressed the binding pieces out.

Now working from the front side, I pressed the binding edge to the edge of the mug rug (batting, etc.). I attached a strip of water soluble basting tape to the pressed edge and folded it onto the front of the mug rug (shown below with pins for illustration purposes).


I topstitched the binding from the front. And on the back, the stitches look like they are part of the quilting, as you can see in the photo above.

For the long binding piece, I lay it on the back of the mug rug so the raw edges are aligned and 1" overhangs each end of the edge. I then fold those 1" ends around to the front and pin.


I sewed along the entire length of these long sides.

I pressed the binding strips away from the backing and turned the piece over to work from the right side.

You can see how the 1" ends get turned in. I press the binding in half lengthwise so the raw edge touches the raw edge of the mug rug (batting, etc.).

I attach the water soluble basting tape to the folded edge and press it in place and sew the binding from the front, so the bobbin thread finishes off on the back and blends with the quilting. The ends do not have raw edges and line up with the short binding strips. And the mug rug is ready to use!

I can think of some other treats to have with my mug of something, but today I only had a brownie. In fact, a really good brownie recipe is Chai Latte Brownies, which my daughter and I have made for a number of years. Here is the link to the recipe. Once I used half and half in the recipe because I wanted to use it up--and I believe the brownies were better.

