Showing posts with label #embroidery_it. Show all posts

12/17/2017

Gift Card Holder Tutorial

Last week I made gift card holders for the holidays. See the post HERE.
I used a coaster design from EmbroideryIt.com 
I wanted to share the steps I took to make a pocket on the back of the coaster to hold a gift card. I wanted them to be used as ornaments in the future, so I included a ribbon for hanging.

The photos show the steps I took to make these.
1. Finish the front of the coaster embroidery. Leave it in the hoop.

   
2. Cut the felt backing piece about 1/3 of the way from one edge.
   
3. Turn the hoop over to see the back side.
  
4. Place the ribbon ends into the embroidered area, below the stitching line. Place tape over the ribbon, 1/2 inch above the stitched line on the stabilizer (see larger image). Line up the larger felt backing piece along the bow line.

   
5. Align the top 1/3 of the felt backing to the bottom section and tape them together in the middle so there is no gap between them. Then tape the sides where the cut lines meet. Finally, tape down the corners.
  
6. Place the hoop back into the embroidery machine to finish the final edge stitch that holds the front and back together. Remove the embroidery from the hoop and carefully remove the tear-away stabilizer.
  
7. Trim the sides and bottom 1/4 inch from the stitched border. Trim the top back edge, without cutting the ribbon, by folding the front piece of felt and the ribbon down to the front of the embroidery. Trim 1/4 inch beyond the stitched edge. 
  
8. Trim the front piece of felt 1/4 inch from the stitching, making sure to fold the ribbon down to the back keeping it away from the scissors. 
  
9. That's it. Finished and ready for gifting. 


12/11/2017

Gift Card Holders

A short post to show the test embroidery I sewed today.

I am going to give gift cards to some people this season. Embroidery_It is having a Live Facebook embroider along tomorrow at 2 PM EST to make these pretty coasters. I wanted to try one today. It was my test. The Floriani threads are lovely and the stitching around the applique pieces is very nice.
 As you might notice, I used red thread for the first edge stitch. The final edge stitch I used green. Not a good look. I'll correct it with the gift batch.

When I taped the back felt pieces, I put it over the stitching area and it is stitched in, not to be moved!

That's why I make a test piece.
I test quilt blocks before I make the actual blocks, too. I want to be sure that size and pattern work out properly.
Do you make tests on your projects before going too far with the final project?

11/09/2017

Christmas Decorations

This past week I worked on some Christmas decorations using the embroidery machine. I decided the more things I made, the better I would get using the machine. So, candy cane holders were my first items to make. 

The bows are very easy to make and available from the EmbroideryIt Etsy Shop HERE. Look under candy holders to see all the others she has. I am going to work on the gingerbread man holders today. The horse pattern was from Embroidery Garden  and was fun to make. Adding these to the Folded Star Ornaments I showed in the last post will give me quite a few ornaments to put up for sale at The Yellow Window.

Do you make ornaments for Christmas trees or package decorations? Which one(s) was the most fulfilling to make?


5/15/2017

Half of May-Gone?

It is the middle of May and I liked looking back at the photo gallery on my phone. Sometimes I get so involved with the things of life that I forget what I have accomplished in crafting. The first part of this post is about those things of life that took precedence over crafting and sewing.

The last weekend of April was our youngest daughter's wedding. It was wonderful to have all my siblings and nieces and nephews attend, since most of them live out of state! I had time to visit with my brother and his wife from New Mexico. We don't see them all that much. It was fun to see all the cousins dancing together that night. They come from Washington, Florida, Tennessee and Michigan. I was so pleased with my dress and hairstyle. And I was able to do some walking without my cane (no dancing). Hip surgery is coming in May!

As any good parents would, my husband and I made the card box our daughter wanted. My husband built the box (18" x 12" x 12") with a lid that locked! I painted it. I found and painted the frame and made a chalkboard inside of it. I gave my daughter a few chalkboard inserts with font styles and some blank chalkboard inserts. I was very pleased that she figured out how to get the font she wanted chalked onto the insert! Yeah! A budding crafter.


After returning home from a long wedding weekend, I found some lovely tulips in bloom in the garden. I decided to cut them to enjoy in the house. I wanted to get them before the deer got them as they did last year. The donut was a nice treat for me, too.

I took photos of the centers of the tulips. I think I will try using my Kaleidoscope Kreator program to turn them into fabric shapes for projects and add the filigree embroideries to them.


I finished two honey bee blocks for the Queen Bee of the Gridsters before I left for the wedding. This is one of them. Rachel is a beekeeper and has a tutorial to make these blocks HERE if you are interested in making any.


I received all of my Queen Bee blocks from my fellow Gridsters by the first week of May. I am working on a design for a pattern, so I am not revealing all of the block. But just a peek for you now. 
I can tell you that the blocks on my design wall look spectacular together. 


The builder arrived the second week of May to begin putting vinyl siding on our house along with replacement windows on the south side! It really looks nice, I have to admit. And as we age, my husband and I will be happy we don't have to stain the house every 2 years or hire it out. I have to say the hardest part was trying to find the color we both liked!


I put some of that life aside and got busy sewing. I made two placemats with hedgehog fabric for a gift. I had a fat quarter, so the fronts have strips of stash fabric that worked with the print which you can see on the backs of the placemats. 


I used the embroidery from EmbroideryIt to make some more coasters. I found with felt, it is best to use a large needle (size 14) for little thread breakage, atleast with my machine,


I skipped a few stitches and added some letters to make this dish towel. 


I used another embroidery for the applique on this potholder. 


A little basket I found at a thrift store became a pincushion. 


I sewed a sample row of my pattern for the Christmas Caroling Row Along coming this fall. I can't show the row yet, but it did sew up easily. I have to work on writing the pattern to submit in early June. 


So thankful I have sewing as a stress reliever as well as satisfying my creative tendencies. How about you? 


3/23/2017

Spring Forth with Sewing

Oh, the spring-like weather has been lovely. Chilly, but expected in Michigan. Today I refilled the bird feeders. The other day a pileated woodpecker stopped for some suet. There have been two of them at the feeder off and on over the winter. I just think they look so pre-historic. Their call is loud as is there drumming on trees! Yet, they are amazing to watch.

My sewing projects have been smaller items this week. I am thinking of things to give to friends at Easter time.

I found some great pattern tutorials from Stitched by Crystal that I thought even the adults might like.  I made these carrot treat bags into stuffed decor for the house. Not sure how I will display them. I think I might have to purchase a basket. Cyrstal's tutorial is HERE.


These bunny treat bags were so quick and easy to sew. I used permanent markers to draw the faces instead of embroidering them. I also left off the tail on the back. I decided they would be great as a table centerpiece filled with candies for the kids and adults, too. HERE is the tutorial.


I am hosting the Bridal Shower for our 2nd daughter in April. I wanted to have some unique prizes for the winners of a few games we will play. I made some Michigan potholders!


And I am having fun embroidering these Michigan coasters. I bought the pattern from Embroider_It.


I like her embroideries because they are simple enough for me as a beginner and versatile to use for a number of projects. Below, I used the state outline to make these 4-patch potholders. 


I got a new hairstyle this week....in preparation for the wedding. Styling it on my own has been easy, which was my aim. 


10/08/2016

Pumpkin Fest Quilting

We Island Batik Ambassadors were tasked with creating a project with a pumpkin or fall-theme for October. I made a table topper. I got these lovely fall-colored fabrics in my August Island Batik fabric box. I thought of leaves changing colors and falling to the ground.

I have a leaf embroidery that I wanted to try. I got it from Embroidery It.
If you do any embroidery, sign up for the her newsletters because each week Nancy offers a free embroidery. This one was what she calls a JAM file (which stands for Just a Mix). 

I wanted to show a bit of what I found helpful in making this table topper. 

I began by embroidering the corner blocks.
I watched a video a few weeks ago and learned that ironing fusible on the back of the applique fabric helps keep the edges from forming whiskers when embroidering. 
I used the Scan N Cut to cut the applique shapes (after putting fusible on fabric). 
To make an accurate pattern to scan, I stitched out the shape on stabilizer and scanned it on the machine. 
I stabilized the golden fabric in the hoop and began the stitching. 
When I placed the fused applique on the background, I used my tiny iron to fuse it in place. 

The stitches were so nice. 
The file stitched out so easily and the back looks as nice as the front. 

I also like that the Island Batik fabrics look so good on the back as well as the front.
I never have to worry about turning a strip when sewing.


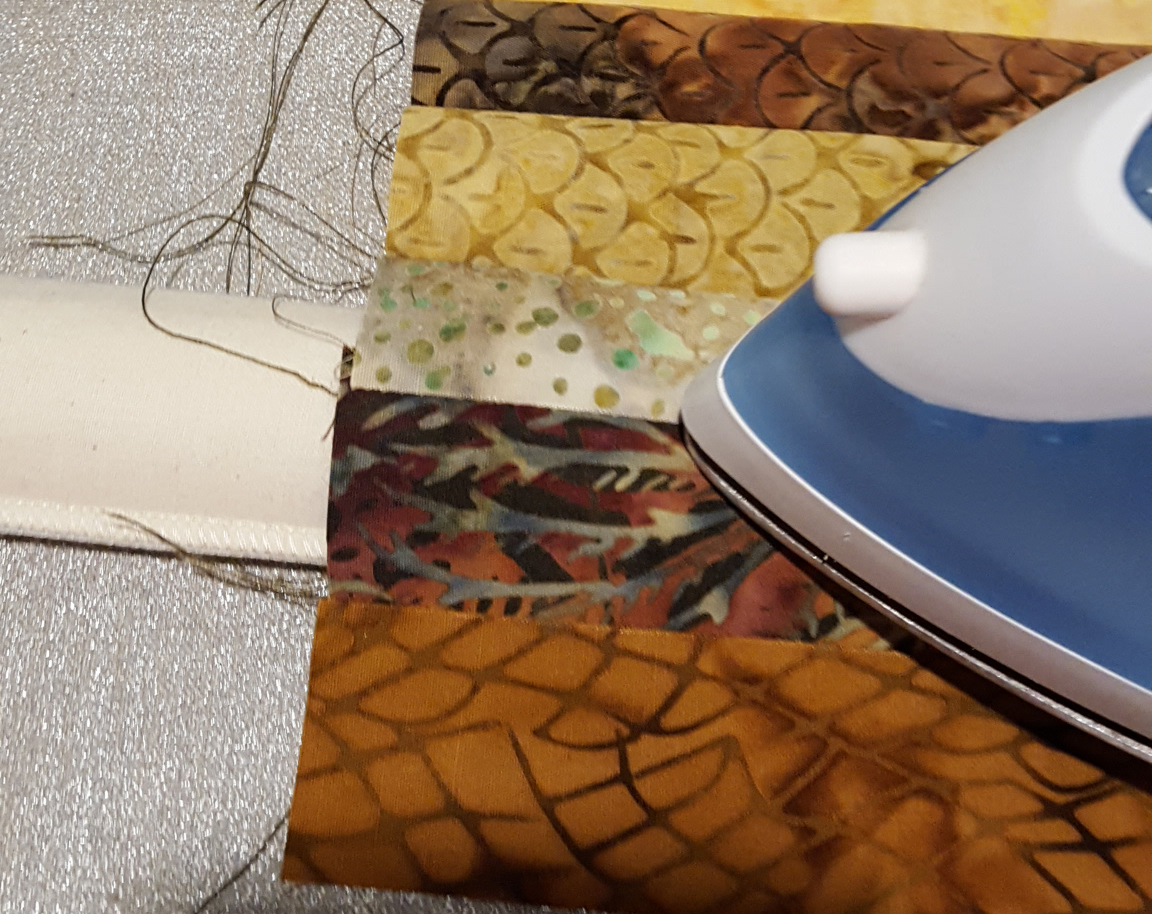
I used The Strip Stick to press the seams. The stick is half round and raises the one seam to press without effecting the other seams. This is the job it is made for!


I layered the top, batting and backing and began quilting in the ditch in the center strip and moved out to one side and then the other. I always use a walking foot when quilting layers with straight stitches.

I then quilted the short strips on the sides. And ended by free motion stitching around the leaves. 
I enjoyed this project.