
I was asked to make a T-shirt quilt for a young lady who is graduating in May. To save a bit of time and expense, I decided to try a new technique.


I cut the back and front of each shirt the size needed. I cut pieces of batting 1/2 inch smaller all around than the shirt measurements and sandwiched it between the shirt front and back. I was able to quilt each shirt block separately. This way there was no need to buy backing fabric or send the quilt to a longarm quilter.
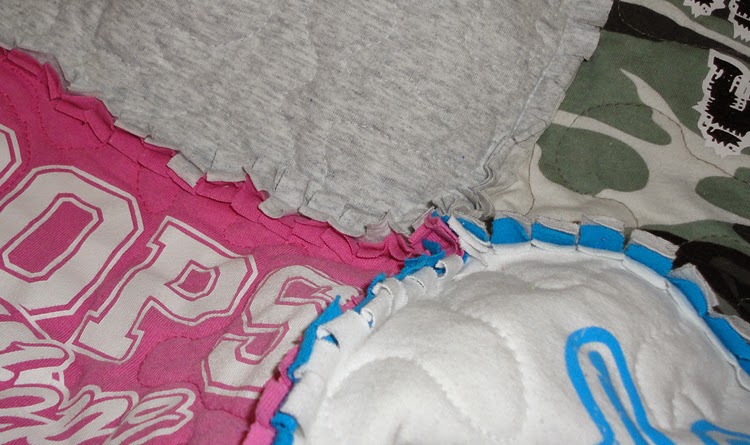
I sewed the shirt blocks in rows, back sides together with a half-inch seam. This gave me the ability to clip the seam allowances on the front of the quilt in the "ragged style" that is used many times with flannels quilts.
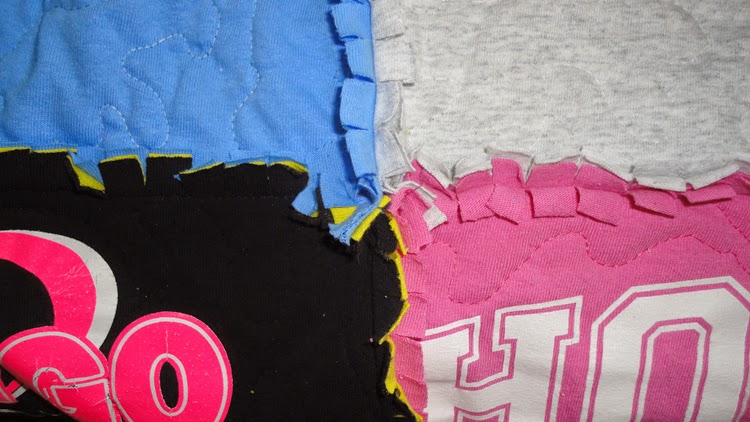
It was a quick method. I have not found, during my many years of sewing, that T-shirts fray apart.
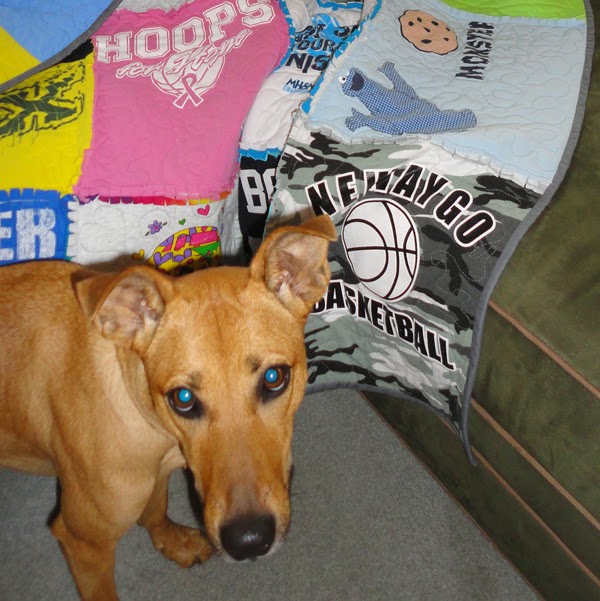
Scout likes the quilt. I wonder how the grad will like her quilt.
Four in Art Theme Challenges revealed tomorrow.

I am preparing my blog for tomorrow's reveal of the Four in Art Urban Theme Challenge. The focus for this reveal was Landmark. Do come visit tomorrow and see how I executed my 12" x 12" quilt. And then visit the other 7 Four in Art quilters for their interpretations.
3 comments:
Doing a t-shirt quilt as a rag quilt -- another great QAYG method for doing these. Genius!! I also love the idea of using up the backs for the back. Was the one with printing on the back from the t-shirt or is that your quilt label?
That was a clever idea for using both sides of the T-Shirt!
Oh I absolutely love the idea of using the backs....to create the back of the quilt...I love that look! And the raggy....ingenious...I think the grad will LOVE it!!
Post a Comment