4/14/2014

Sometimes things just get away from us. . .

If it wasn't for the email I got today, I would have forgotten that the EQ Photo Fun Blog Hop started today! 
I prepared my blog a few weeks ago and have it scheduled to automatically post after midnight tonight (EST).  But gosh, I sure didn't want to miss the blogs for today. It was the email that reminded me and I am glad. The three ladies did such a great job. Each of them has something different and I learned some new things to add to my EQ repertoire.

If you haven't visited them, do it now so you can get started on some new projects very soon. There is a giveaway from EQ. Comment on each of the sites and you have more chances to win.  Hope to have you all come back tomorrow to my blog. 

April 14th
April 15th
April 16th
and EQ

4/05/2014

Wof B Block

WOB
I finished the Welcoming Hand block last night. I think I may have gone a bit overboard on the coloring. Maybe I should have kept it simple with 3 colors. But I like the block. 


I also made 5 more microwave cozies which include eyeglasses, fish and Noah's Ark. 


Quilt Shoppe classes include the Mug Rug Social and Free Motion and Line Quilting. Looking forward to the day. 

What are you doing today? Any quilting in your plans?


4/04/2014

Newest Pattern Released

It's ready! 
The pattern I designed for Cut Loose Patterns is available now for purchase from your local quilt shops.


It is 2 patterns in one!
Yes, 2 quilts can be made from the fabrics used with almost NO waste.
Start with a layer cake and a few extra pieces of fabric. 
(Or use your fabric yardage cut into 10" squares.)
It is an easy quilt to make.
But don't stop there! 

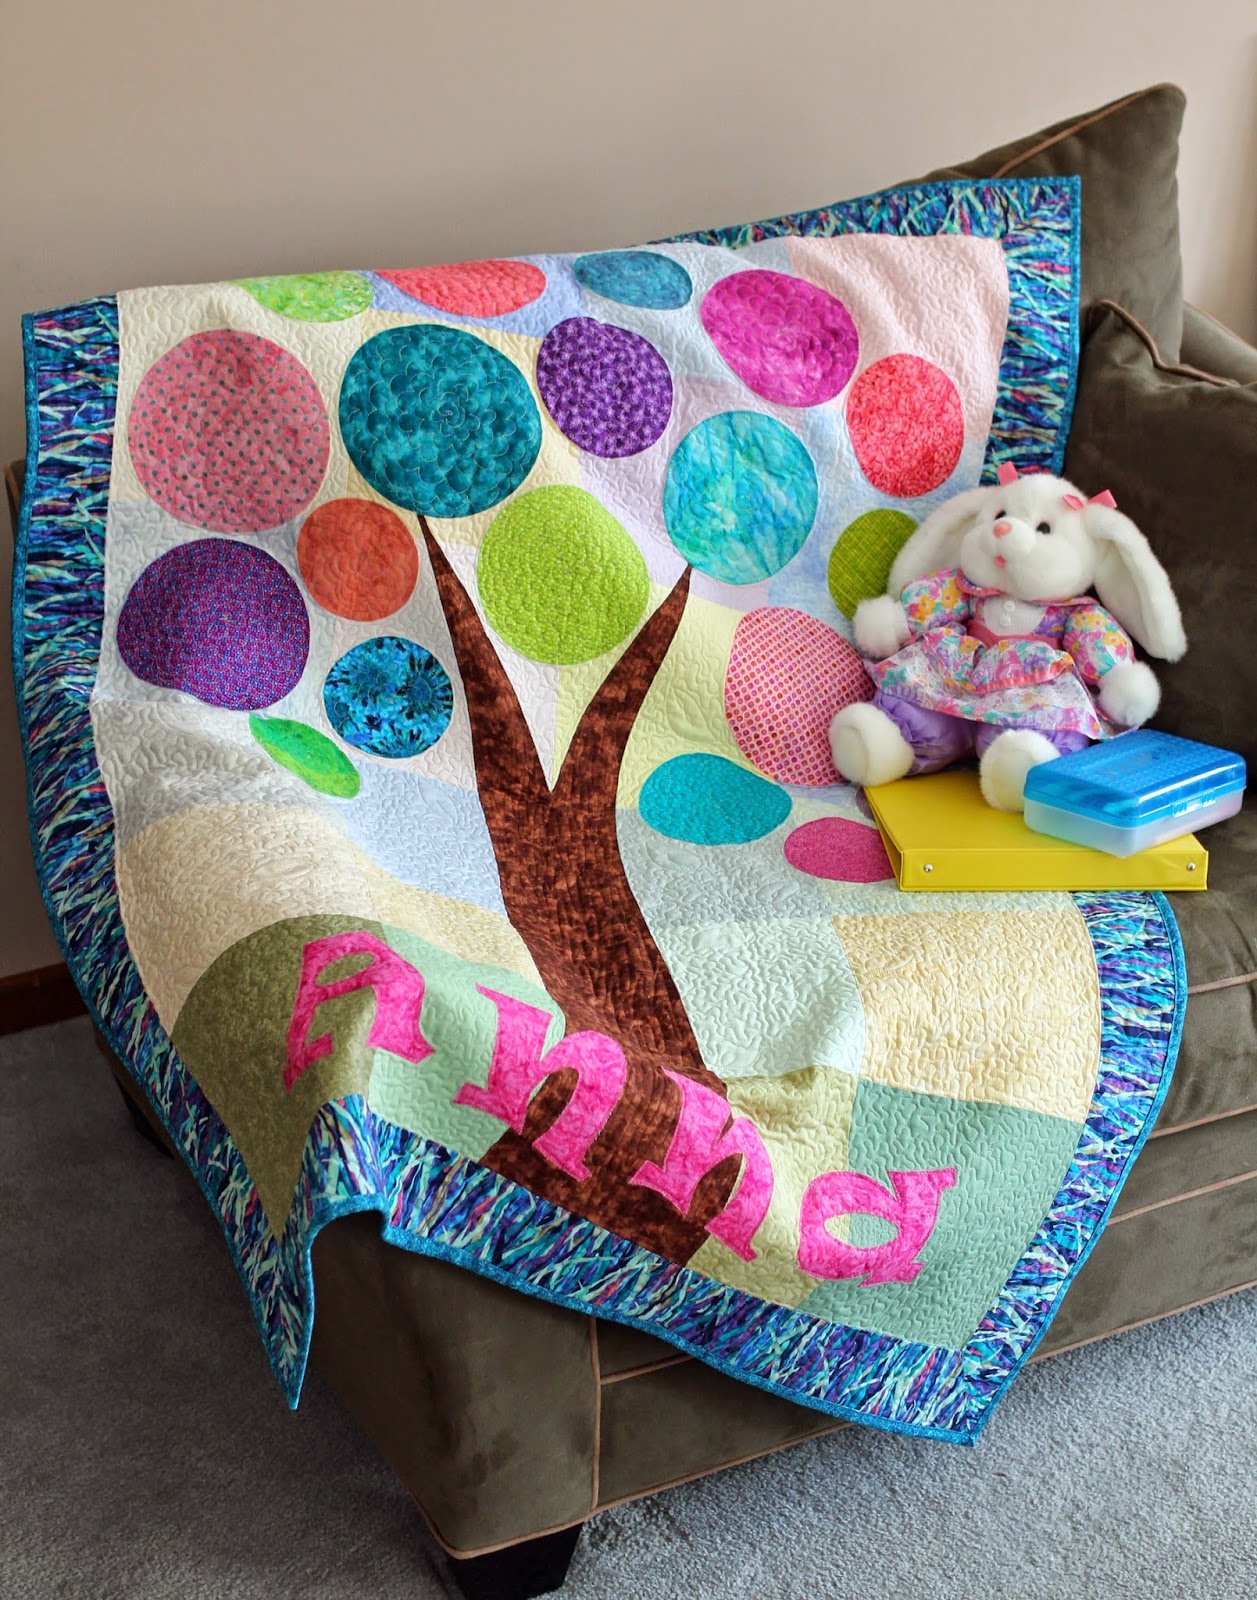
Here is the main pattern which my longarm quilter named. 
Change it up a bit by substituting other materials such as
photos on fabric, childrens' art work or handprints,
signatures, redwork or embroidery, why even t-shirts would work!
Why not put BFF at the bottom and have photos of the best friends in the branches? 
How about a growth quilt?
There are "tree-mendous possibilities" from this one pattern. 


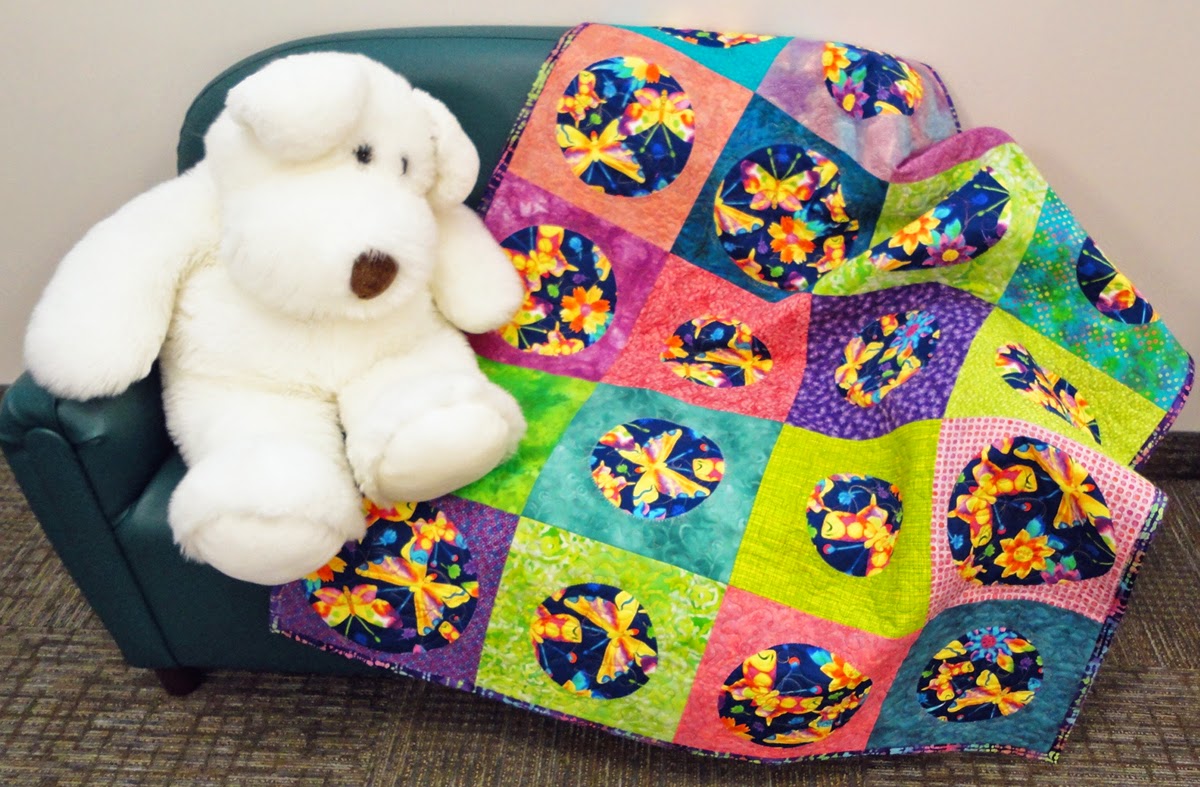
And, below, is the second quilt that can be made 
with the leftovers plus another fabric cut.


Let me know how you would use this pattern.  Do you have a special fabric, special occasion, or specific place to use one or both of the patterns? 

Ask for this Cut Loose Pattern at your local quilt store.

I want to leave a special thank you to my longarm quilter, Michelle Fialek, who does such a wonderful job of finishing my quilts. We complement each other in this process. I appreciate her great skill. Thank you, Michelle. 


4/03/2014

Fabric Strip Exchange Project


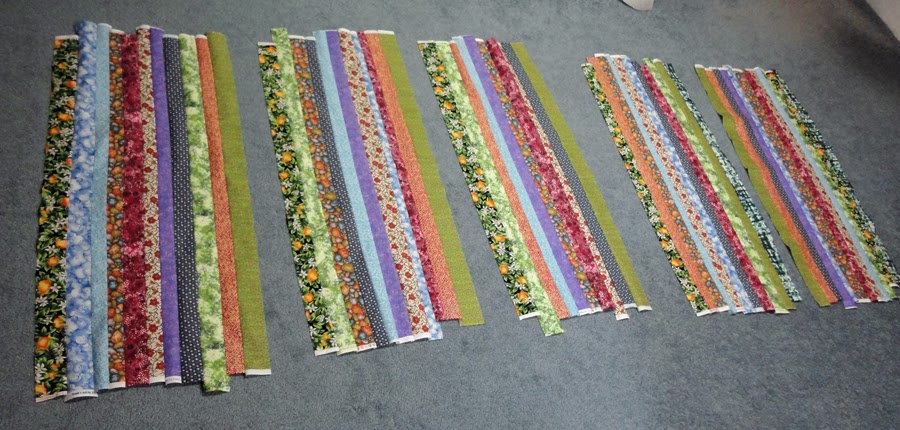
A few weeks ago I posted a photo of the fabric strips (below) I had sewn together for the Edyta Sitar type exchange.


I received 5 strip sets in return. I wondered what I could do with them. I thought a pillow would not be too difficult. I am pleased with the results.


The strip set measured 18-1/2" x WOF. I cut it in half and squared up the two pieces to 18-1/2" x 18-1/2". (Well, yes that is what squared up means.) I then cut the pieces diagonally from both sets of opposite corners. I sewed 4 of the pieces together to get this configuration. 

I added a back which was two pieces cut 13" x 18-1/2". I hemmed one 18-1/2" edge on both pieces and these became the overlapping center opening. The other sides were pinned to fit the square front, right sides together. I sewed all the edge seams, curving around the corners so they would not be like pointed horns when turned right sides out. 

And now there is a new pillow for the chair! 

Here is the layout for the other set of triangles that came from cutting this strip set. 


I think I will use the other strip sets to make a Chinese Coin Quilt. 

FABRIC LANDSCAPE PANELS COMPLETED

Miriam and I finished stapling the fabric panels to the wooden frames. Here is what the finished piece looks like. 


I kept a bit of the floor lamp and rug in the photo to give you an idea of the size. Each panel is 51" high and the center one is 40" wide. The other two are 35" wide. We will have 2" between each panel when it is hung. 

EQ Photo Fun Blog Hop

Mark April 14-16 to check out the exciting projects and tutorials for using photos in EQ. 


4/01/2014

Linked with Beaquilter

I worked on three large artistic fabric landscape panels with a friend today. It is to be hung in the church. We have another day of finishing. We have worked within our conflicting schedules as best as we could for the past 6 months or so. Our stitching, construction, etc. is nearing an end. 

A little glimpse for you: 


We are still working on the fisherman and need to staple the panels to the frames, but they are very nice. And, of course, the photo does not do justice to the true colors.


LINKY!

I was able to look at Bea's blog before dinner and found she has an EQ Tuesday Tutorial working with AccuQuilt Go! dies (hexagon and equilateral triangle). I saw she had a linky and thought I should try to make a quilt in EQ following her lesson and link with her. 

So here is what I came up with:


While it is somewhat small and only two colors, I did learn something new. Since I have not used the One Patch Layout before, I learned that when selecting the Open Patch Quilt from the drop down menu, the quilt defaults to the Hexagons. The choice of patch style is chosen in the box that appears after clicking the Layout Tab at the bottom of the screen. Oh, how easy that was, once I figured it out! 


Thank you, Bea, for the link and thus the learning I just did!

EQ Photo Fun Blog Hop Coming SOON!
It starts April 14, ends April 16, and my post day is April 15. I have a tutorial you won't want to miss. Looking forward to your visit.