Showing posts with label Chevron quilt. Show all posts

10/05/2014

Quilt Retreat and Unexpected Surprise


This past weekend I went to a quilt retreat with 11 other ladies. Some were from the Tall Pine Quilters Guild, some were friends.  It was relaxing and fun and with only 12 of us we had more room than normally is available at a retreat. 

It was held at KETTUNEN CENTER in Tustin, Michigan

In 2004 I had attended a quilting retreat here with another group. Only two of the other ladies had been here before. It is owned and operated by the Michigan 4-H Foundation. There are 160 acres and a lake and unfortunately it rained while we were there, so we did not get to explore the grounds. 

But we did a lot of quilting. I took projects that were nearly complete. I do this when going to retreats because I can bring more items to work on and usually get most of them done. I don't have to cut much more than bindings, backing fabrics or small pieces. 

And these are the things I finished: 

I sewed bindings on:  

The Give and Take quilt I made
after taking a class from Susan Purney Mark
at the 2012 AQS Show in Grand Rapids, MI


Small Square in a Square quilt for me.

A small Square in a Square quilt that will be donated for the church bazaar.


A Christmas table runner for the bazaar.

For the bazaar: 9" and 12" table mats from orphan blocks I had.

A 15" table mat quilted and bound, for the bazaar,
made from an orphan block given to me by a friend

Another block given to me by a friend. I added the 4 corner triangles,
quilted it and bound it (bazaar donation).
 
Another Christmas table runner that I quilted for the bazaar.
This is made using the Triangle Frenzy Pattern.
A table mat for donation made from a leftover block I made
using Quilt Smart Interfacing.
I sewed backing and front right sides together with the batting.
Then I quilted the curves of the center "flower".
I sewed the sashings on these slash and sew blocks I made a few years ago.
This flimsy will be a small quilt that could be a wall hanging,
child's quilt or used on a table.
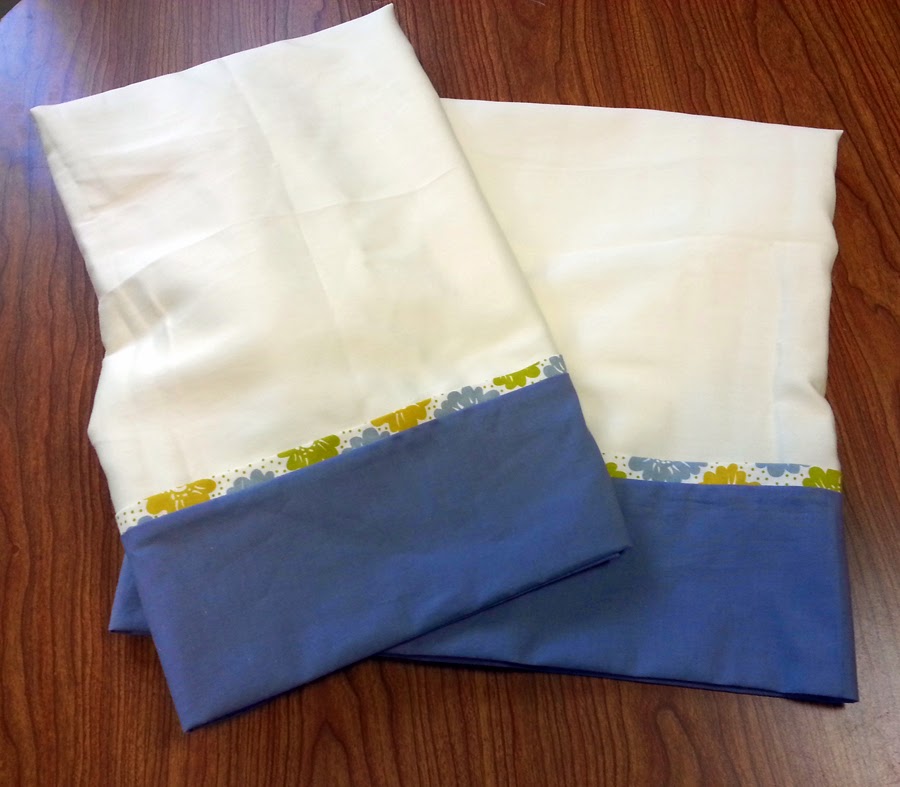
Pillowcases for my daughter to go with the Chevron quilt that we made. 

Now, for the strangest occurrence at the retreat. 

I attended a retreat (at a different place) in the early 2000s, where I supplied a kit and showed the ladies how to make a 3-D flying geese block. Some of them chose to keep their blocks, others combined them to make quilts for auction or giving. While exploring the various areas of the building this weekend, I found a stairway with lovely quilts which had been donated over the years by retreat groups. 


And I found the quilt, shown above, hanging quite high on the wall; but I saw right away the 3-D flying geese made from the fabric I had supplied. And sure enough, when I searched the names, they were the ladies who had been at the retreat when I taught that block. You can see 2 of the blocks in each of the 4 corners. Some of the fabric around the signature blocks have geese flying in them. This quilt was donated to the Kettunun Center in 2008, atleast 4 years after the retreat! I am so happy to see that they used the blocks in the quilt they named: 

What do you take to retreats to work on? What kind of quilting retreats do you like to go on? 
Have you ever had something from your past show up in an unexpected place?


9/24/2014

Giveaway Winner and Chevron Quilt Finished

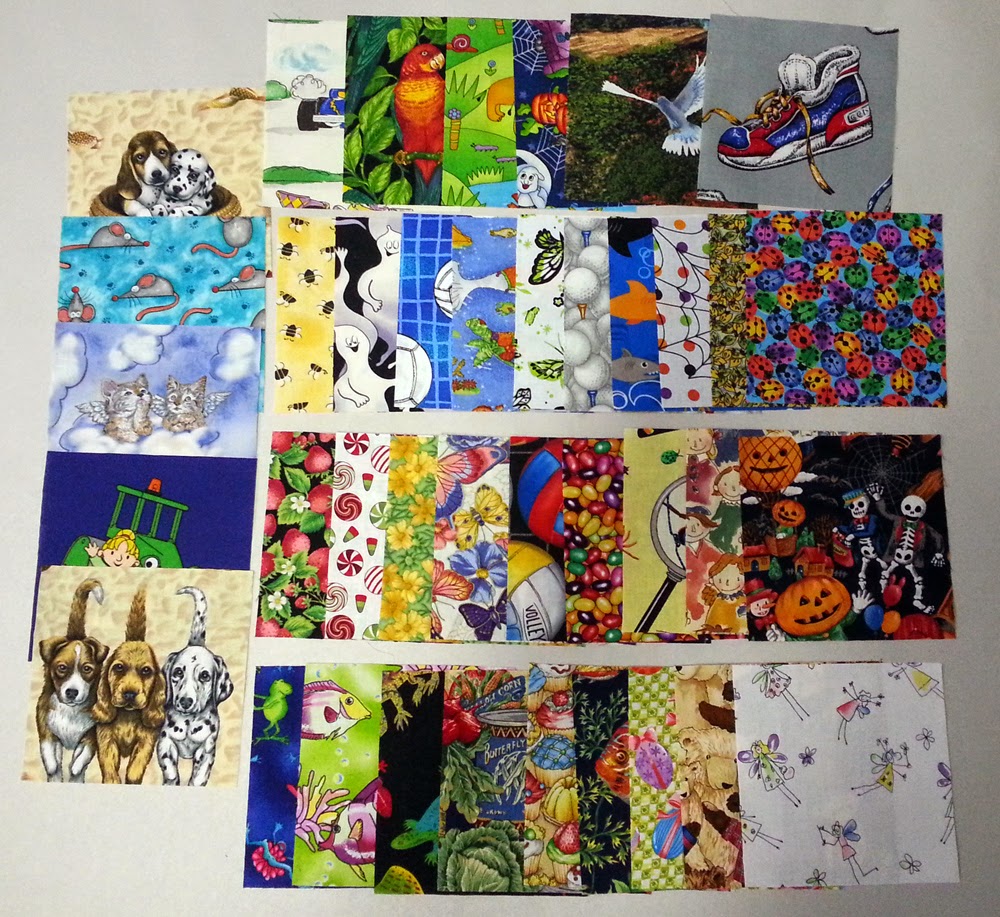
The winner of the eye spy charm pack from my Curious Cat blog post 


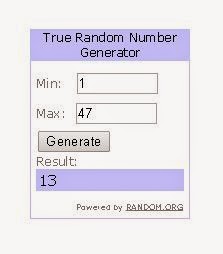
was selected today using the Random Generator. 
Comment # 13 was selected: 

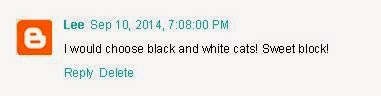
Congratulations to Lee who I have emailed and will send the pack to as soon as I get her address.  


The Chevron Quilt
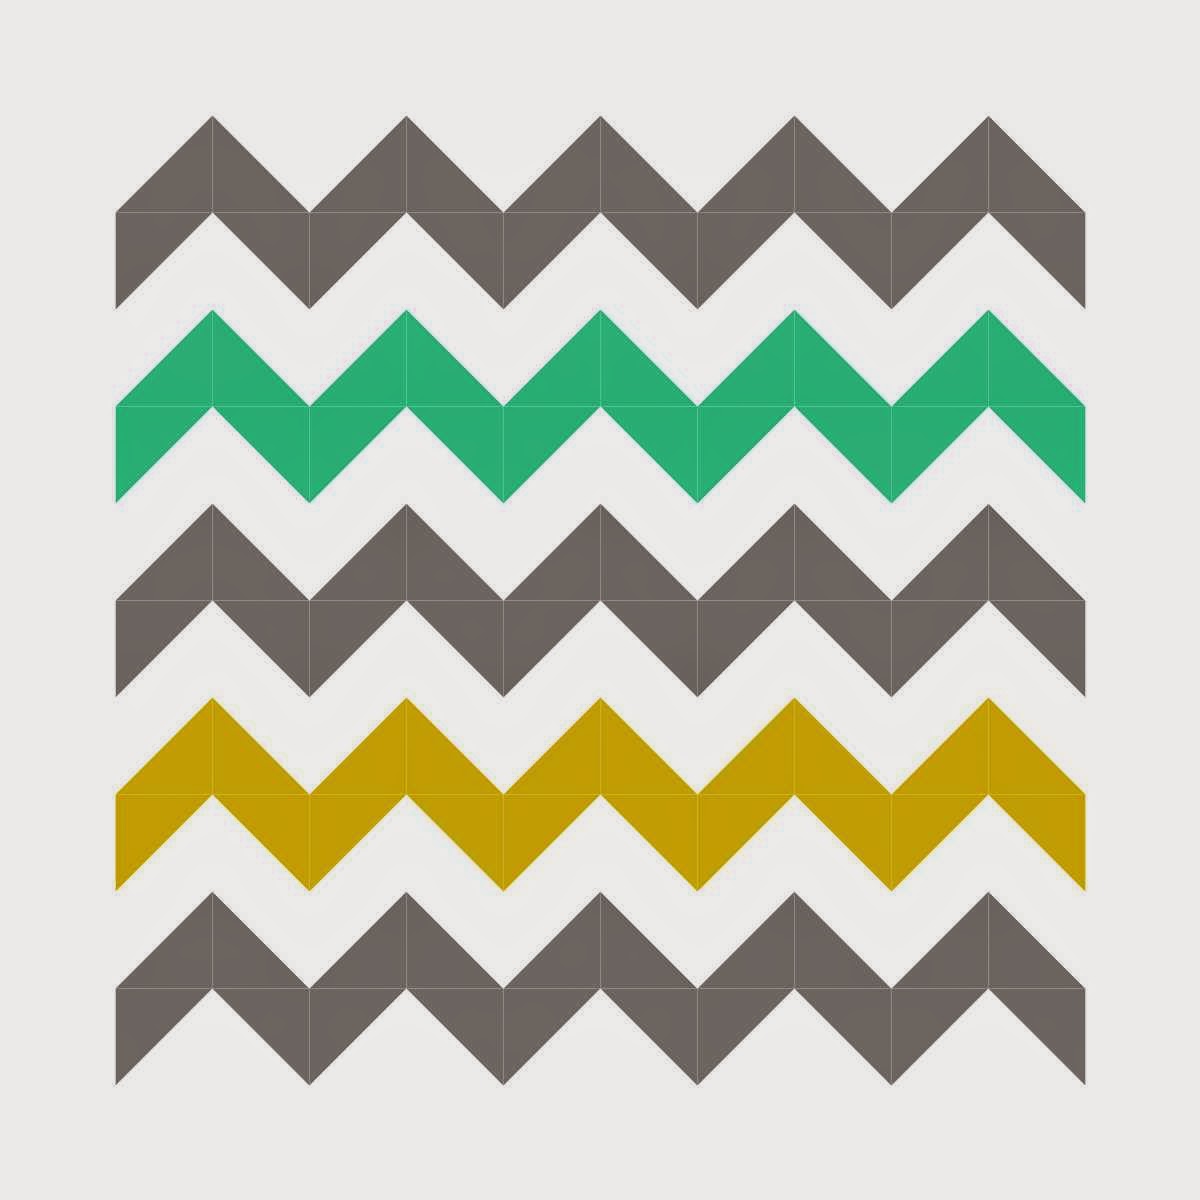
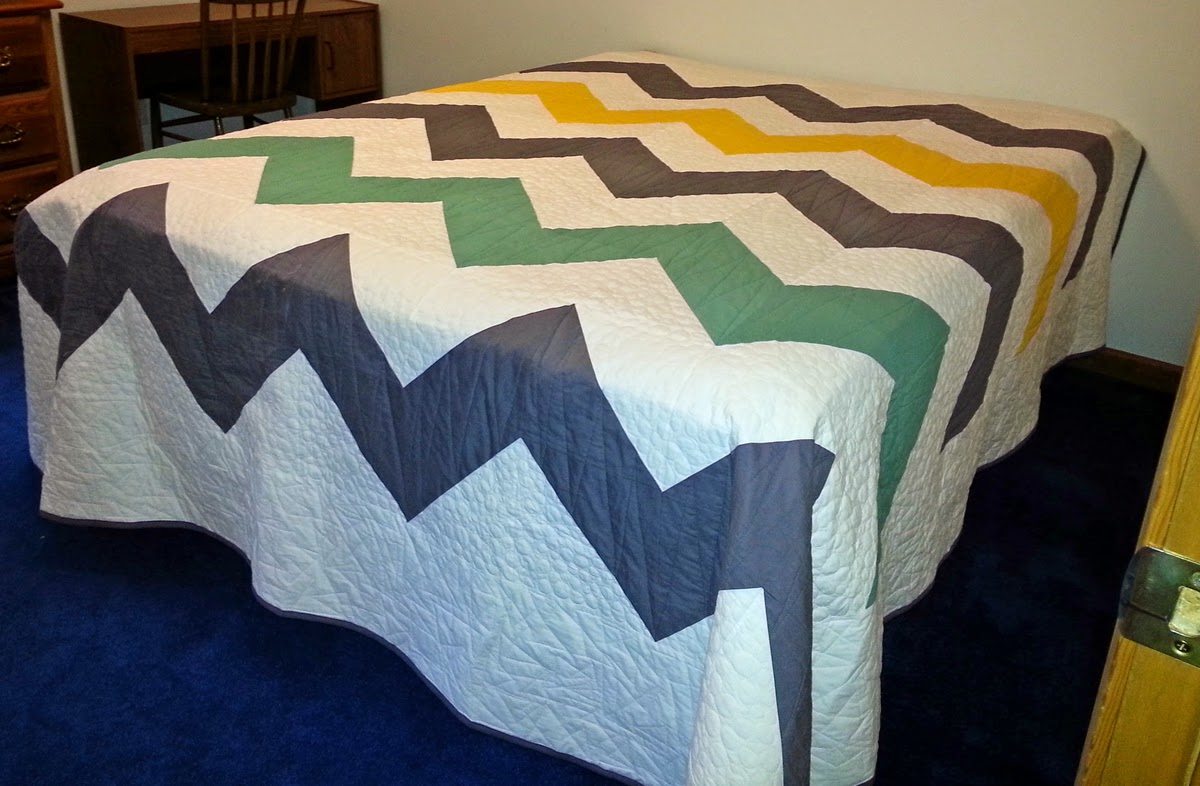
I have been working on this chevron quilt for over a year. It was requested by my younger daughter for her newest apartment after she graduated from college and started her career. 

She designed it. We shopped for the fabrics so she could pick out the colors she wanted. I used EQ7 to design it for her approval. She wanted a king size quilt for her queen size bed (looking down the road if she gets a larger bed).


She helped with the sewing. I cut the squares at home. When she came to visit on the weekends, she would sew the straight seams 1/4" on each side of the diagonal center line. Then I would cut and she would press so we had half square triangle blocks that measured 9". 

We arranged them into the color rows and she sewed them together and I pressed. We make a pretty good team. (She is just getting started in this quilting journey.) 

Once all the rows were sewn together, she and I looked at various quilting designs. We used a printout of the EQ7 image on 8.5" x 11" paper to sketch some idea. 

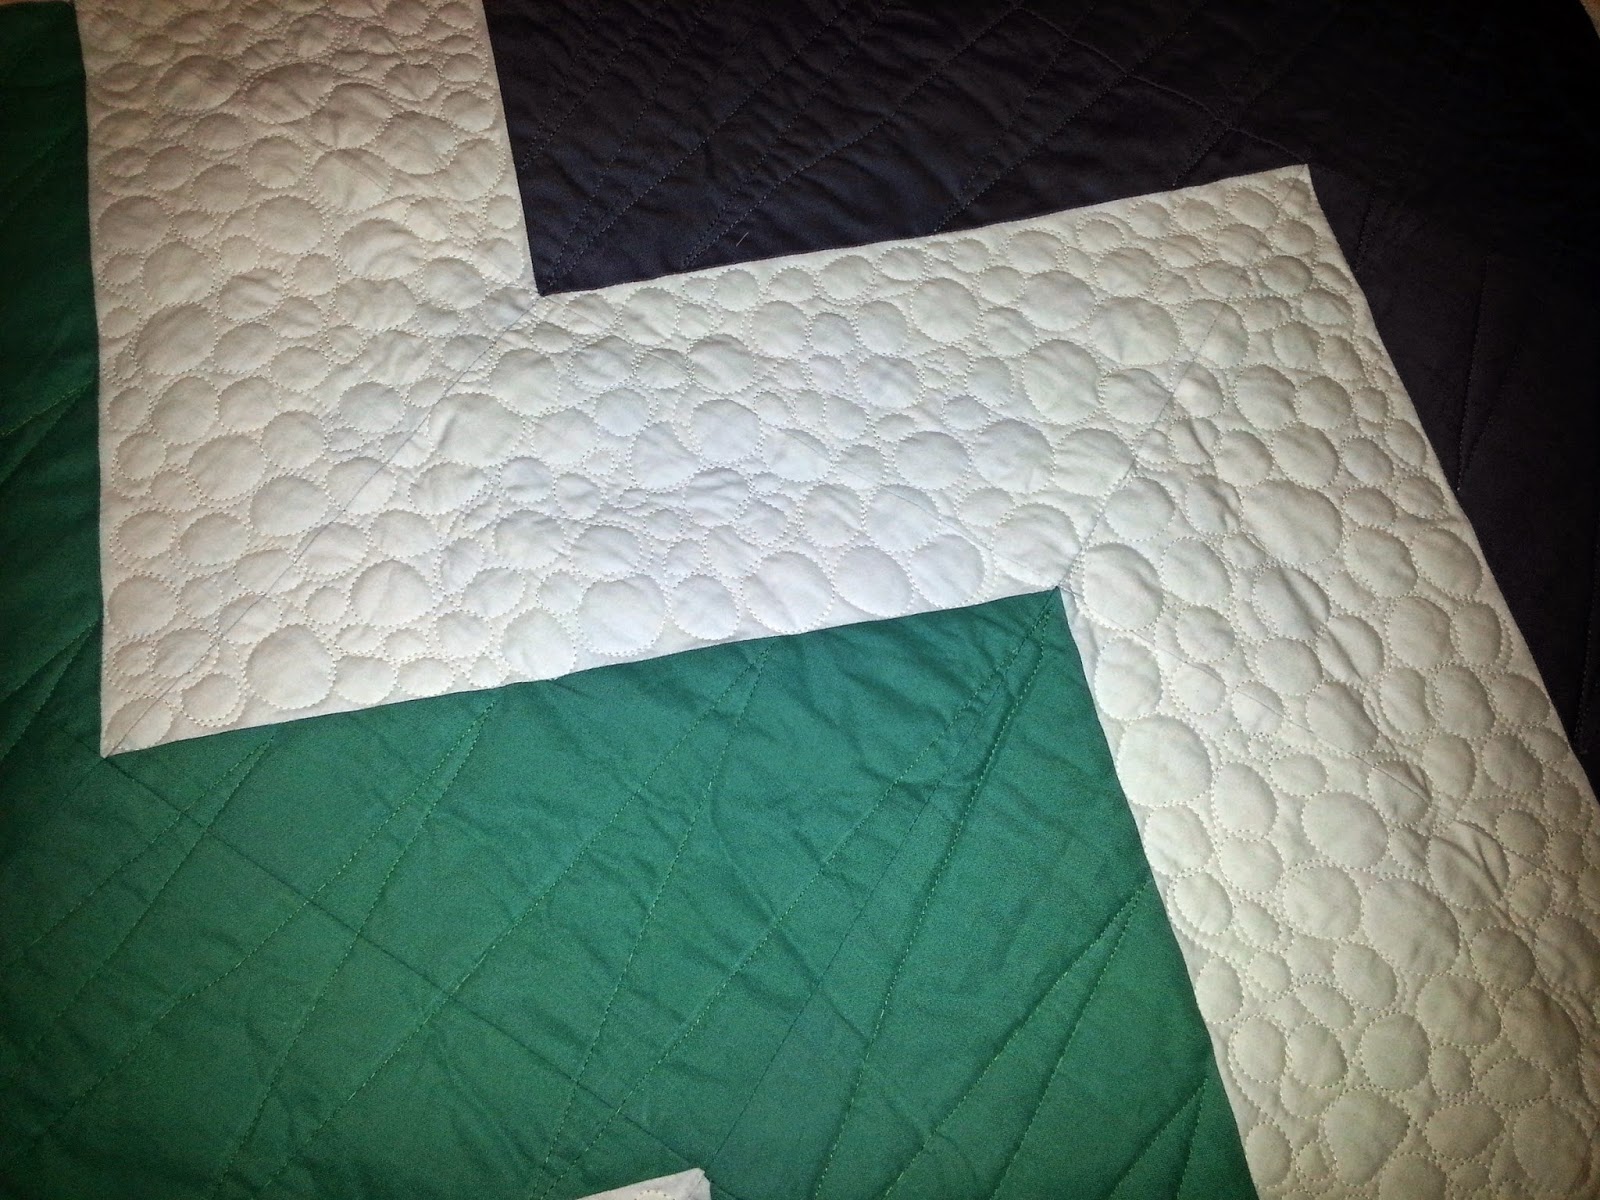
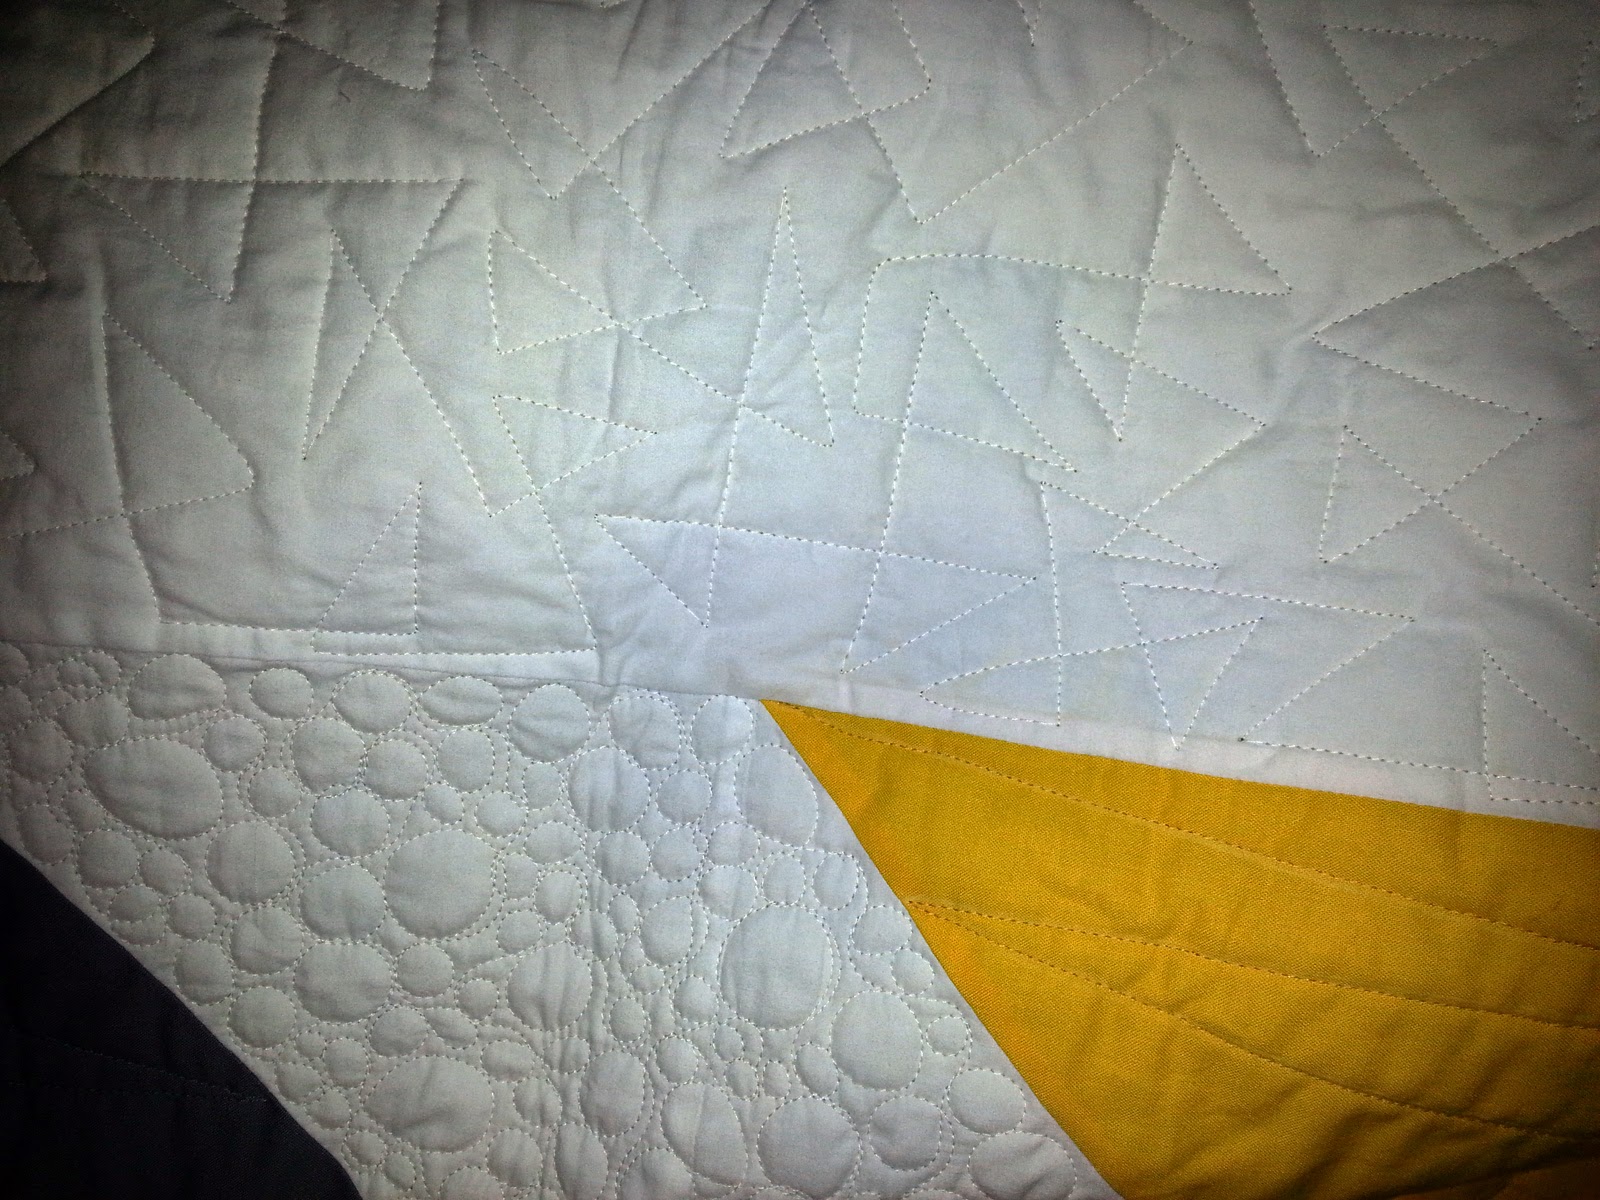
She chose to have pebbles quilted in the white chevrons in the main part of the quilt, triangles in the borders and elongated peaks in the colored chevrons. Those are shown in the photos below. 


We had Michelle Fialek, a friend and fellow quilt guild member quilt it. I did the binding with the grey fabric.

My daughter was so delighted with the finished quilt. Here is the photo I took before delivering it to her. 


And the quilt I loaned her is now back on our bed!

Have you ever planned and made a quilt, or shared your quilting skills, with someone close to you?


11/08/2013

Baby Quilts and Giveaway Link

I have been working on baby quilts for the craft show. I used 3 cuts of fabrics to make these quilts. Below the photos, I will show you how I made these.


Use one yard cuts of 3 different fabrics to make 3 quilt tops. The binding comes from the 3 yards. Add some batting and backing, stipple the layers, bind and you are done! 

Here are the directions: 
From each one yard cuts of fabric, cut four 2-1/2" x WOF strips for bindings.


From each remaining fabric piece, cut one 26" x 35" rectangle.

From the narrow ends of each 26" x 35" piece, cut two 26" x 4-1/2" strips as shown below. 

Set aside these 4-1/2" x 26" strips.
Take each of the 26" squares of fabrics and cut one 4-1/2" x 26" strip from the top and bottom edges. (You have not cut from these edges yet. Cutting from these edges is important if the fabric is directional.)
  
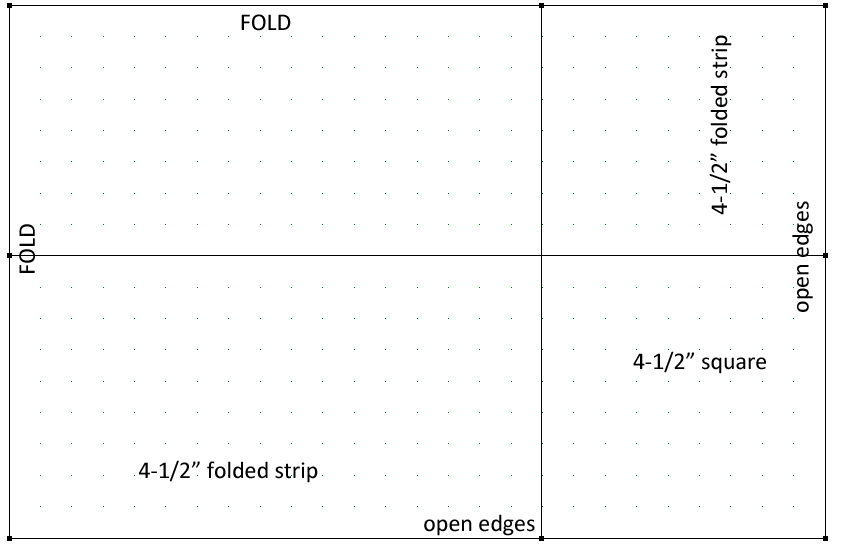
You now have 3 rectangles measuring 17" x 26". Fold each of these rectangles in half one way and then in half the other way. Through all layers, on the open edges, cut 4-1/2" widths as shown below. 


Take the different pieces and mix and match centers, side strips, corners, and outer borders for 3 different quilt tops. Sew the pieces together with 1/4" seams working from the center out. 
Layer batting and backing. I stippled the layers, trimmed and attached the binding to the back and used my sewing machine to topstitch the binding from the front. 

Now the Giveaway. The Giveaway has ended.

I got an email from  Lucy @ Charm About You. She showed the Giant Chevron Quilt she made and tells the details of a giveway of the pattern for 2 lucky winners. The winner will be announced Nov. 11. Check out other colorways at the pattern designer's site: Here

The quilt pattern gives directions for a baby, lap or twin quilt and looks simple enough to make. A great way to use the scraps from the 3 baby quilts I made. 

Thanks for visiting and let me know if you make some baby quilts from my tutorial.